It is a well known fact in our household that I am great at starting projects, and not so great at finishing them! Our kitchen has been a work in progress for many months. Thankfully this progress hasn't made it a war zone though, like our previous kitchen. We still have had full use of cabinets and counter space. My first post said that I had 2 phases to finish the kitchen... and now it's turned into 4 :) I still have to complete the 4th, which is staining our lower cabinets. I am not completely sure when I will actually finish the kitchen, but I wanted to share the progress that I've made with phases 1-3.
Before


Phase 1
This phase was just painting all the upper cabinets. This took a bit more effort than the initial small bank that I showed previously. The rest of the cabinets had paint that was chipping from the previous paint job and some had greasy spots that I couldn't wipe clean. These doors required much sanding. I set up my sanding station outside using old chairs and an old door. I do what I can with what I got, and I didn't have a work table/bench or saw horses to use! :)

I washed the cabinet doors down and then went to work sanding. As you can see if some of the pictures, the old paint just started peeling right off!


If I I would have known the severity of the need for sanding, I would have used my electric sander. However, I just figured it would be a few spots here and there so I didn't bother. My arms got quite the workout, and my fingers had blisters!
I started to paint them outside, but bugs kept flying into the paint! So I set up shop inside. I used the same chalky paint mixture as shown in my previous post.


After painting two coats, I applied Minwax Polycrylic for protection. With chalky paint, you can either wax it or use a poly. I prefer the poly because I already had some, and I won't have to keep reapplying every year (or more often since kitchens get a LOT of usage). I prefer the polycrylic over polyurethane because it's a water base, therefore easier to clean up and it doesn't yellow over time like an oil base would.
For the actual cabinets, the prep work was a little easier. I didn't have to sand and I didn't have much scrubbing. I did have to 'fill in' one area because there was a gap and you could see right into the cabinet. For this, I measured the gap, and then bought a square dowel that was close in thickness. I used my hand saw to cut the length to the correct size. After sanding the edges, I applied liquid nails and clamped it to the cabinet. Now that it's all painted, you wouldn't know it was ever repaired (unless I pointed it out to you - which I just did! haha).


After the cabinets were painted, but before the doors were put back on:


Phase 2
Phase 2 was simply painting our bar/wall that separates the kitchen and living area. For this, I did not use the chalky mixture. I just used the same ratio of the latex paints to create the same color and mixed it without the calcium carbonate.
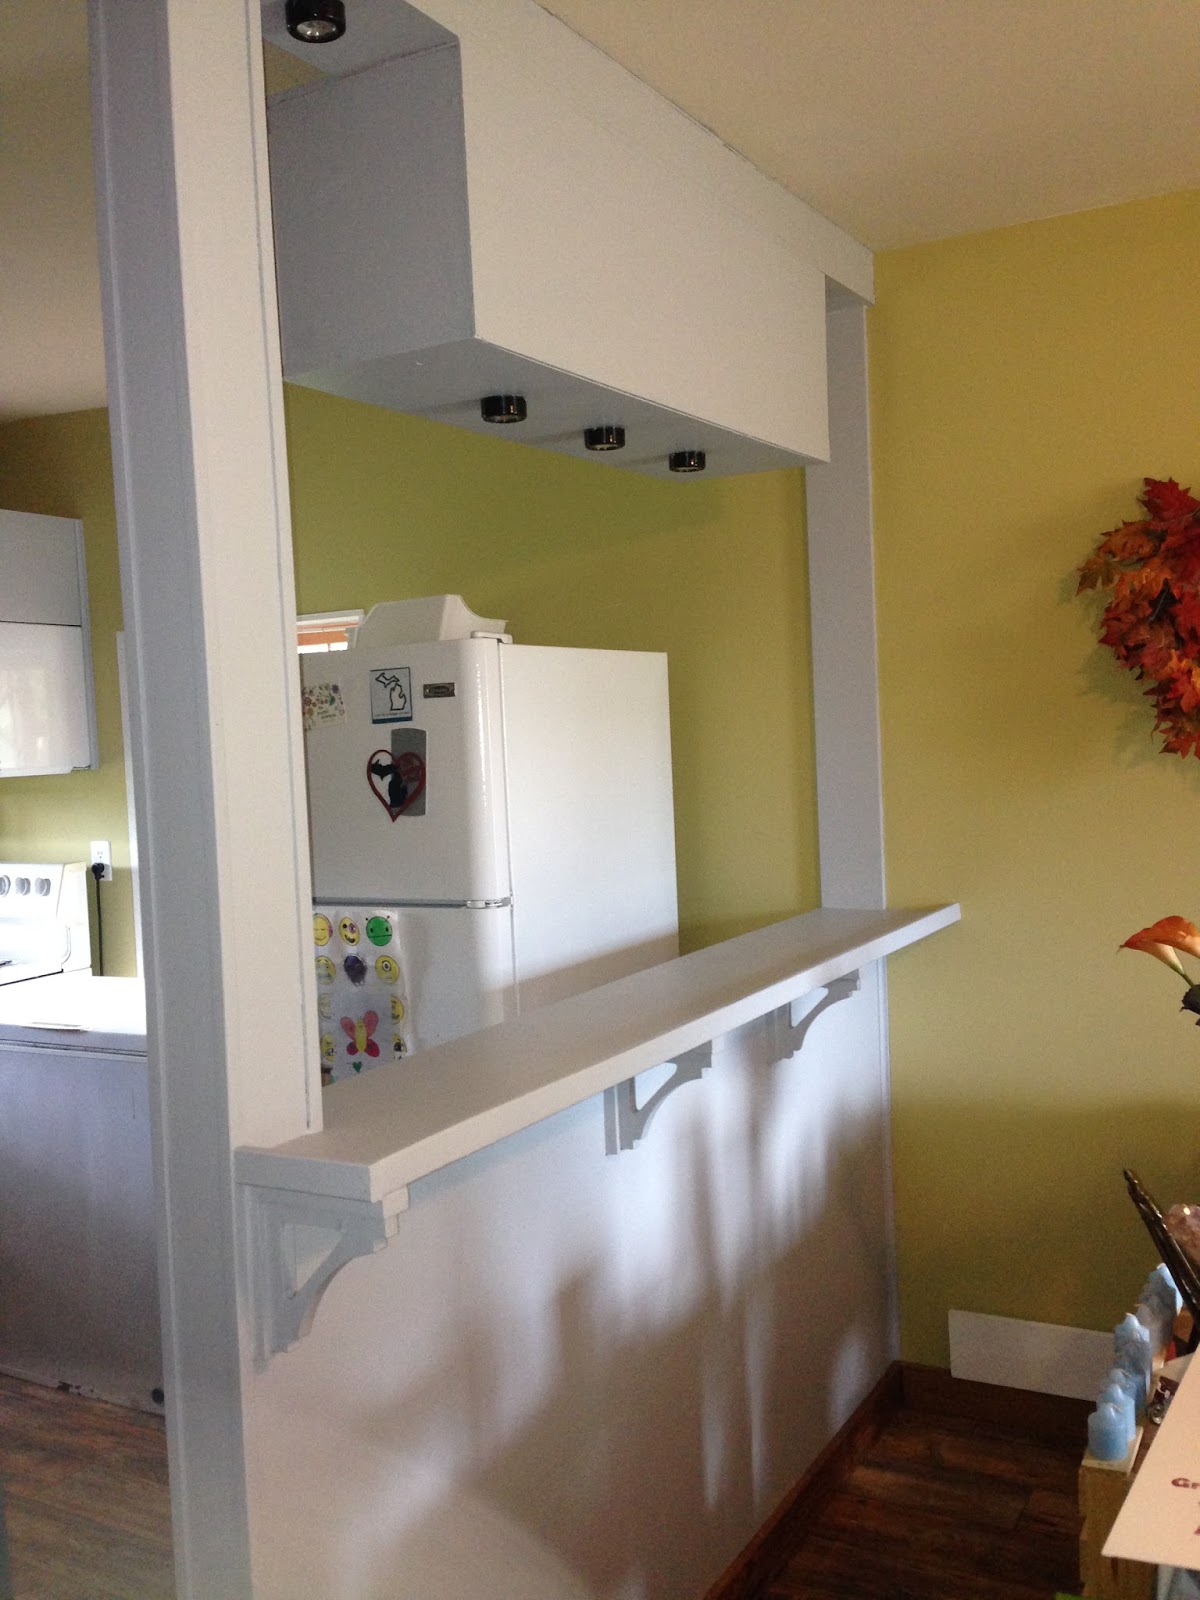
Having it the same color as the upper cabinets brightened up the space so much.
Phase 3
Our house has cinderblock walls with only 3/4" styrofoam and 3/4" plaster/drywall. This combo makes for a very difficult process of hanging anything of substance. This means that hanging my decorative wall shelves and many of my pictures weren't an easy option. Since this house isn't our forever house, I didn't want to put all the time and energy into trying to decide the best way to anchor everything without huge holes everywhere. With the wood planks that I bought YEARS ago for a bed project (that never got completed), I decided to build open shelves on the bar. This still allows for an open area from kitchen to living, and light to pass through which is important because these spaces are small.


I measured 3 or 4 times before I cut the boards down. I ran into the problem of warped boards from age and storage. So the cuts weren't perfect and my measurements ended up being off a little. I was still able to make the shelves work. I found stainless steel L brackets to stabilize and secure the wood so the system wouldn't collapse under weight.
I am really happy with how our kitchen is turning out. As I said earlier, phase 4 will be staining our lower cabinets and also adding new hardware. I will update again as I finish that phase. For now, here are the after pictures of our kitchen area!
 |
| Don't mind all the dirty dishes! That's my project for today :) |
 |
| The shelves filled with my treasures. And a whole lot of clutter on the floor that still needs to be taken care of haha! |
No comments:
Post a Comment