Thursday, February 9, 2012

It is finished!

Our bathroom is finished - at least with what we had planned to do for now! In the future, I would like to hang a towel rack on the wall that had one when we bought the house. I just have yet to find one that I like and that is within our price range of cheap :) Here is the final picture with all 4 bins that I made.

I can't decide which way I like the bin to face - I'm not sure if I like the pocket or the seam or a side that doesn't have either towards the front :)  I'm sure I'll move it around everyday for a while, at least until I like how it looks!

Tuesday, February 7, 2012

T-Shirt flowers

Yesterday early morning I posted pictures of my new bins for my bathroom.  I made flowers to decorate them using t-shirt scraps.

I cut out a rectangle and I used a hemmed piece to make it easier and to keep it from curling up.


I folded it in half and glued it together along the non-folded edge.

Then I cute strips about 1/4-3/8" deep along the folded egde.  The strips were spaced apart at variable intervals.

When rolled up, I glued along the bottom edge as I rolled.

I squished it down a little bit so that the pedals would fold out towards the bottom.

I added a square of green underneath it and then trimmed it down to look like two leaves.

This is what the bottom looks like.

The next flower is the rose.  I don't have step by step of it, but you'll get the idea.
Again, I folded a long strip in half.  I cut half circles along the top in various sizes and depths.

When rolled up it looks like a rose.  I folded the outside pedals down to make it look more authentic.

This is what it looks like standing up!

And then I glued them to the bins and I LOVE them :)

Monday, February 6, 2012

Bathroom continued

I'm finally just about done organizing the bathroom!  It's been two and a half weeks since I started the project.  It's not done yet, but I ran out of supplies (hot glue) tonight.  I'm hoping to finish it tomorrow.  But for now, I have pictures to show you what I've accomplished!

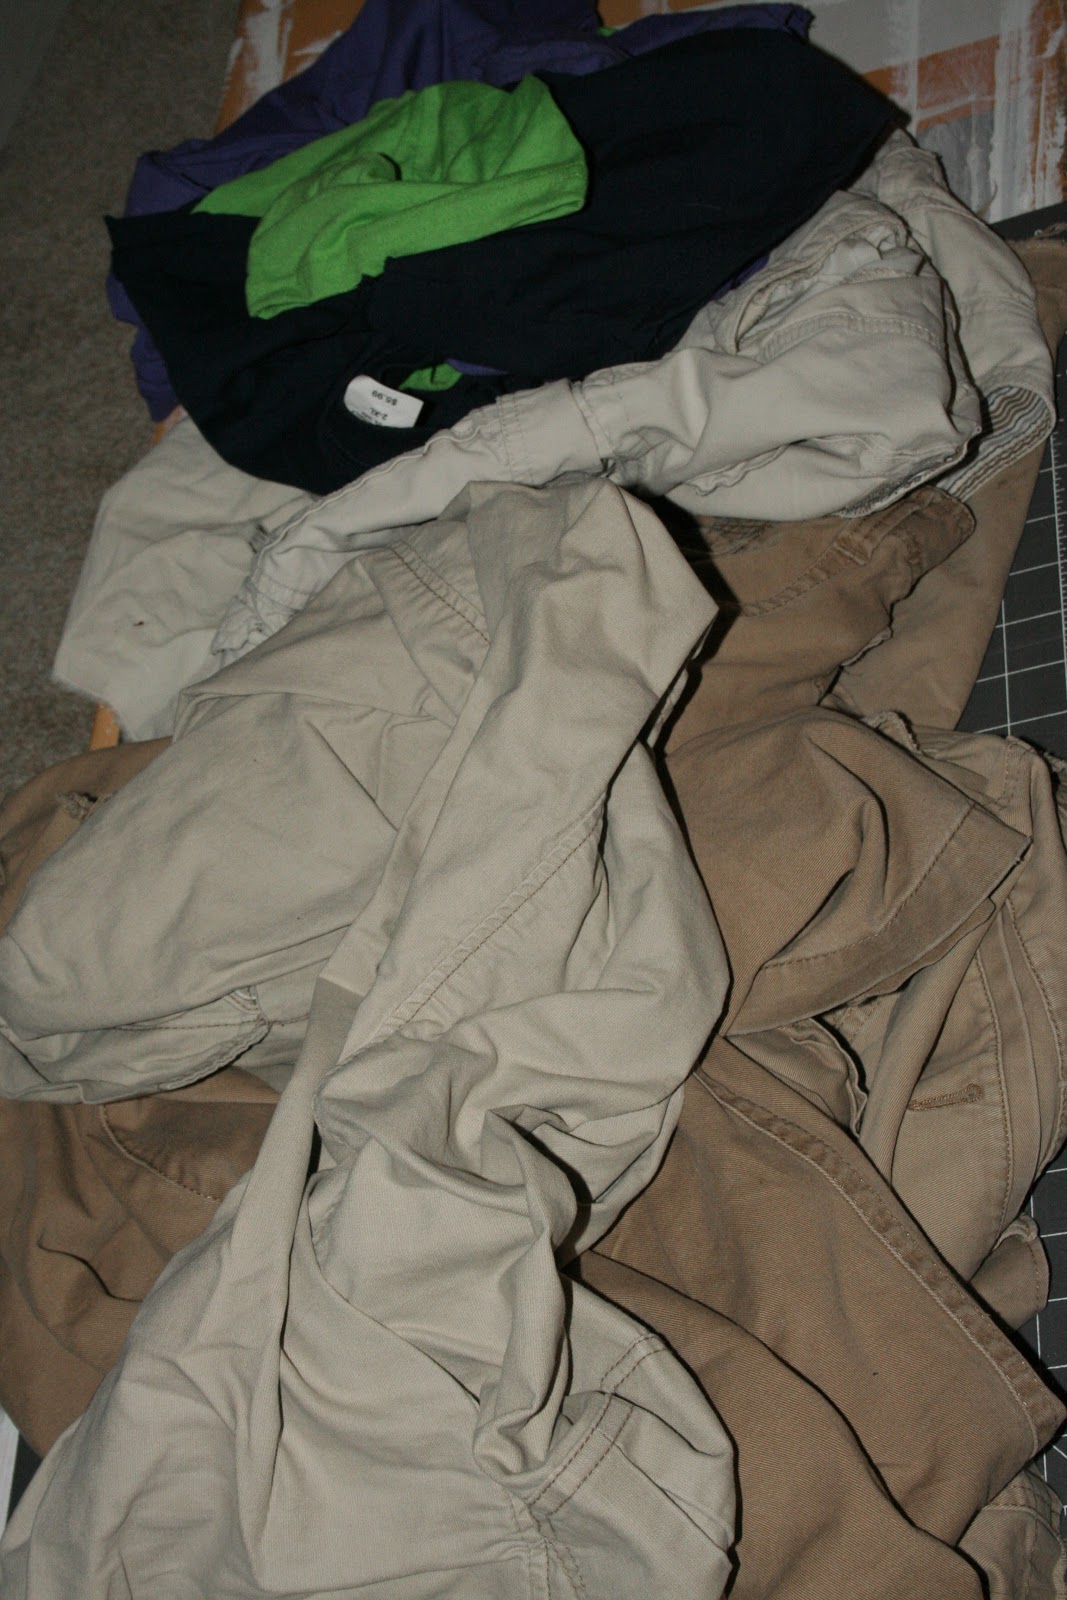
This is what I started with: Cardboard boxes,

and left over t-shirt pieces from other crafts and Hubby's old khakis that had holes in various places.

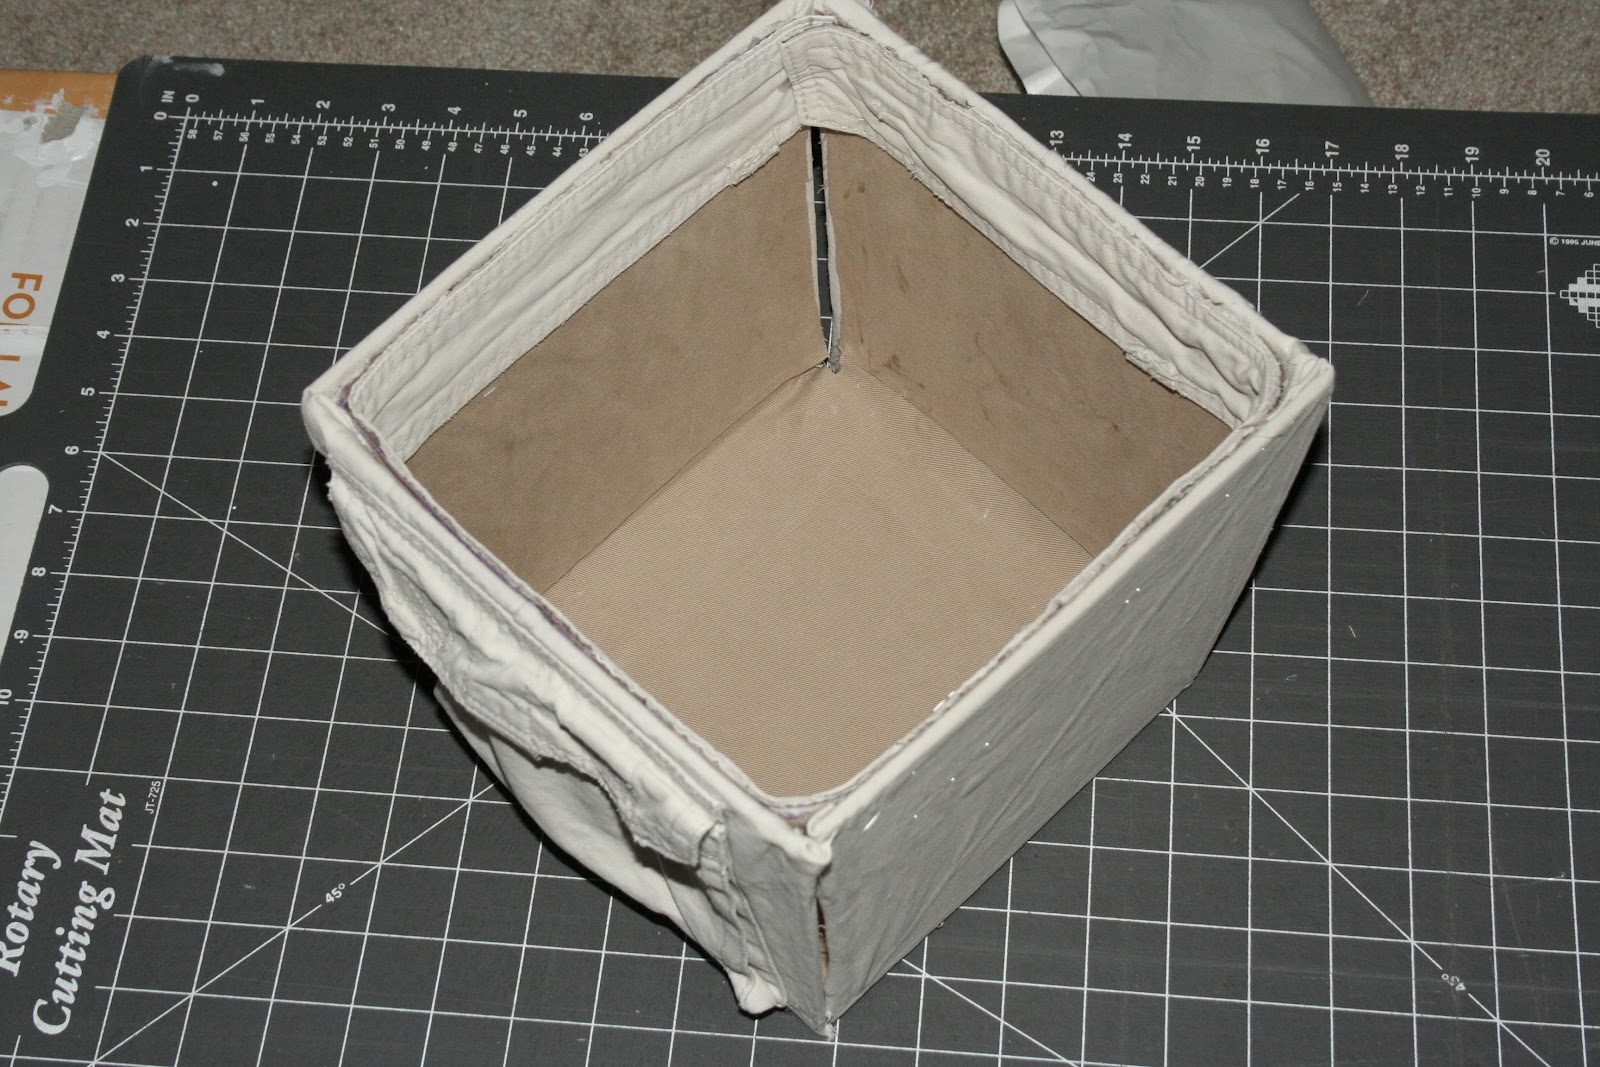
I cut the cardboard box into pieces - 4 walls and a bottom (times 2).


Then I cut out the fabric pieces to fit the cardboard cut outs.  This piece was cut off from the sides of Hubby's cargo shorts.  LOVE the pockets :)

 I ran out of the light color khaki, so the interior cover is a darker khaki.  The top rim on the inside is the waist band from the shorts.  On the second bin that I made, I glued fabric on the inside corners instead and I like that much better.  I just forgot to take a close up picture.

 This one is filled with our meds.

 The top one is filled with first aid stuff.  Our cabinet looks SO much neater!  I still have 2 or 3 more bins to make, but I have to find fabric (I'm running out of khakis) ;) and I have to get more hot glue.

The bins were inspired from a post on pinterest.  The original blog post is here: http://www.urbannestblog.com/2009/04/cereal-box-storage-bins/
The flowers on the bins were used with old t-shirt scraps.  The inspiration came from Jody @ http://homeyhomedesign.blogspot.com/2012/02/flower-power-easy-flower-tutorial.html?spref=fb
The exception is that I used t-shirts :)  Tomorrow (later on today) I'll post the details on how I made those!

Tuesday, January 24, 2012

Bathroom project update

My hubby saved our bathroom cabinet today!  He got home from work just in time.  I was finishing up the project and trying to put the shelves back into the cabinet.  The shelves wouldn't fit in like they did before (yes I tried putting different ones in different spots, thinking maybe parts were warped or something).  In the process, I broke the ends off of three shelves and scraped the paint on the shelves and on the cabinet - so now I have to touch it up.  And I had NO luck at getting the shelves into place.  When Hubby walked in the house, he knew something was wrong because I (having a very low frustration threshold - and yes, I'm working on it) was throwing the shelves and the 'L' brackets in the bathroom, saying a few choice words and making a HUGE commotion with it all.  He came in and saved the day though!  He pulled me back and into a hug and then asked me to show him how they were supposed to go in :)  When he got the first shelf in place, he asked how mad I was at him for getting it in and I replied, "Not mad at all, you saved me from taking a sludge hammer to the whole thing!" :) Then he proceeded (with me helping) to get the other 4 shelves into place.
 not too much visible damage - at least the broken parts of the shelves are in the back where you can't see them :)
This is what the cabinet looks like above every shelf in every corner!  Scuffed up from having to bang and force the shelves into place.

THANK YOU, HUBBY!!!

CAKE SMASH!

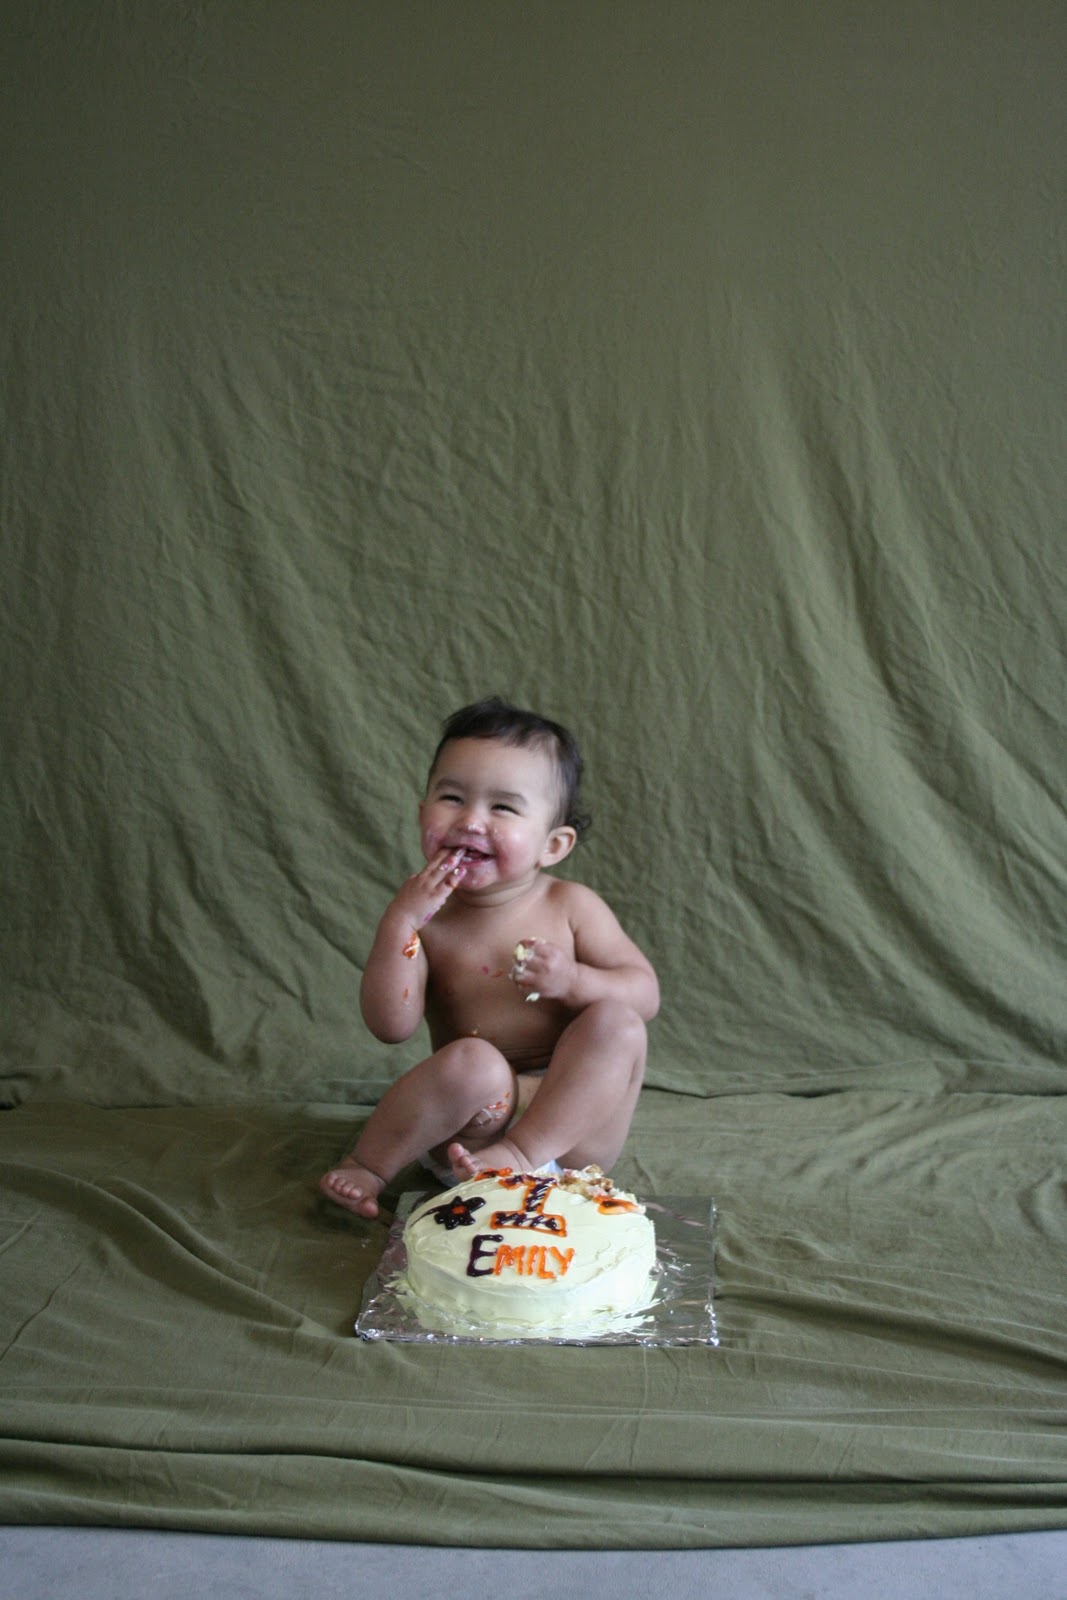
This weekend, I took a break from household chores to go spend the weekend with family in Lake City!  Saturday, my brother and his wife and my one year old niece came over to my parents' to celebrate her first birthday.  We did a cake smash photo session and then enjoyed a family dinner and more cake and ice cream.  Here are a few of my favorite pictures.

Friday, January 20, 2012

Bathroom Linen Cabinet

So I decided on Monday to start painting our bathroom linen cabinet.  It was a yellow oak cabinet that didn't match our bathroom anymore.  We installed a new vanity last winter that is white so I knew I wanted to paint the cabinet white to match, but never did. 
Here is a way before picture of our bathroom, before I painted and before the new vanity.
 This is the cabinet in its original form
 this was the old vanity as we started tearing it out.  I was going to just paint it, but when I took the doors off, the facing came with them.  The bottom of the vanity rotted out on part of the edge that the facing was glued to.  I was really bummed... okay, not really :)  I wanted a new vanity all along and this made it a necessity :)
 Here you can see the new vanity in place along with my paint job :)  Notice in the mirror the cabinet behind?  I took the doors off and we decided to keep it open instead.
 Different view of the bathroom, and the paint job of course :)
Today, my goal is to finish the cabinet.  I already have it sanded and primed, I just have to actually paint it.  Although, my hubby wants me to just leave it primed because he thinks it looks 'artsy' :)  Maybe I'll post a picture before I paint and see what everyone else thinks!
Okay, so here is another up close before of the cabinet.  And you can see how disorganized it was too!  This is also going to change with the make-over.  The big open empty shelf is where our towels usually go, and it's supposed to be two shelves there, but one was missing 'L' brackets to hold it up and we never bought new (until now) :)
This is after being primed.  This is how hubby wants me to keep it :)  Let me know what you think!

Sunday, January 15, 2012

New Week

I took a break for chores or cooking today, and I loved it!  Yesterday I managed to finish 3 loads of dishes and 4 loads of laundry and I still have more to do!  How do I have so many dishes to do?  Well, it's because I started cooking, lol.  I realized how many pots/pans/casserole dishes, not to mention utensils, I use when I cook!  But I still love that I'm cooking a new dinner almost every night and will continue to do so, even though it warrants more dishes to be done!  Tomorrow I'm contemplating with activity I want to tackle.  I know I have regular chores to do, but I really want to finish some project so when I look at said completed project, I remember the accomplishment.  Looking at completed chores doesn't give me that sense of accomplishment like it used to, because it just piles up again later in the day :)  I'll update as soon as I know which project I'm going to tackle!